Introduction
This is my first attempt at a
tube fly and I used materials lying around in my house. The main materials are
a cork from a port bottle and an old pen cartridge. This tying sequence is just a basic idea of a
tube popper and probably not the most correct way to tie a tube fly. It
basically just gives you some ideas regarding the materials you can use for a
fly like this and how easy it is to tie it. I hope this inspires you to try
this alternative method of fly tying and also see odds and ends lying around in
your house in a different light.
Tube flies have various
advantages such as:
- Various types of hooks can be used with one fly
- The fly can be used with or without a wire trace
- Often the fly will slide up the line once a fish is hooked and then the fish cant bite down on it
- Another advantage is that the fish will only be left with a hook in the event of line failure
Materials:
1. SF Flash Blend - Bleeding Black (Alternatives:
Bucktail, Marabou, Zonker Strip etc)
2. Crystal
Flash
3. Crystal
Chenille or Dubbing
4. Saddle
Hackle
5. Rubber
Legs
6. Stick-on
Eyes
7. Marker
Pen
8. Nail
Varnish
9. Sally
Hansen – Hard as Nails ( Ideally epoxy should be used)
10. Superglue
11. Wine Cork or Foam Popping Head
12. Any
material suitable as a tube – I used an old pen ink cartridge
13. 6/0 Thread
 |
| Materials |
 |
| Cork and Pen Ink Cartridge |
Step 1:
Color the cork with a permanent market to act as a base
layer for the nail varnish

Step 2:
Form a hole in the middle of the cork with a fly tying
needle, then insert the tube trough the cork

Step 3-4:
Apply some superglue on the tube and push cork further up
the tube
 |
| Step 3 |
 |
| Step 4 |
Paint the cork with nail varnish using long strokes

Step 6:
Leave the nail varnish to dry for approximately 20 min

Step 7:
Superglue eyes to both side of the cork and leave to dry for
approximately 3 min

Step 8 and 9:
Paint a layer of Sally Hansen or ideally epoxy over the cork
and leave to dry (the Sally Hansen will take around 20min the epoxy will take
longer)
 |
| Step 8 |
 |
| Step 9 |
Step 10:
Cut shallow slits into the tube material to prevent your
thread slipping on the tube

Step 11:
Add a base layer of thread onto the tube

Step 12:
Pinch wrap the SF material and secure with a few wraps

Step 13:
Pinch wrap some flash material and secure with a few wraps

Step 14:
Select two saddle hackle feather, pinch wrap the on both
sides of the tube and secure with a few wraps

Step 15:
Take another saddle hackle feather and hold it with the
shiny side facing you. Pinch wrap the feather to the tube and secure with a few
wraps

Step 16:
Take two round rubber legs, pinch wrap it and secure with
about 3 wraps

Step 17:
Turn the legs perpendicular to the tube and secure it
further with figure of eight wraps

Step 18:
Wrap the legs in front of the cork and tie in some crystal
chenille.

Step 19:
Wrap the chenille forward towards the legs and secure with
two wraps

Step 20:
Wind the hackle over the chenille and secure in front of the
legs with a few wraps

Step 21:
Figure of eight wrap the chenille over the legs and finish
of with another few chenille wraps in front of the legs. Secure the chenille
with a few thread wraps and finish of the fly by whip finishing the thread
behind the cork.

Trimming:
Step 1:
Trim the SF and flash to the same length of the saddle
hackles

Step 2:
Trim the legs to three quarters of the length of the tail.

 |
| Leg Trimming Result |
Step 3:
Cut the tube behind the tail to around 5mm

Cut the tube as close as possible to the cork

Final Result:
 |
| Top View |
 |
| Side-on View |
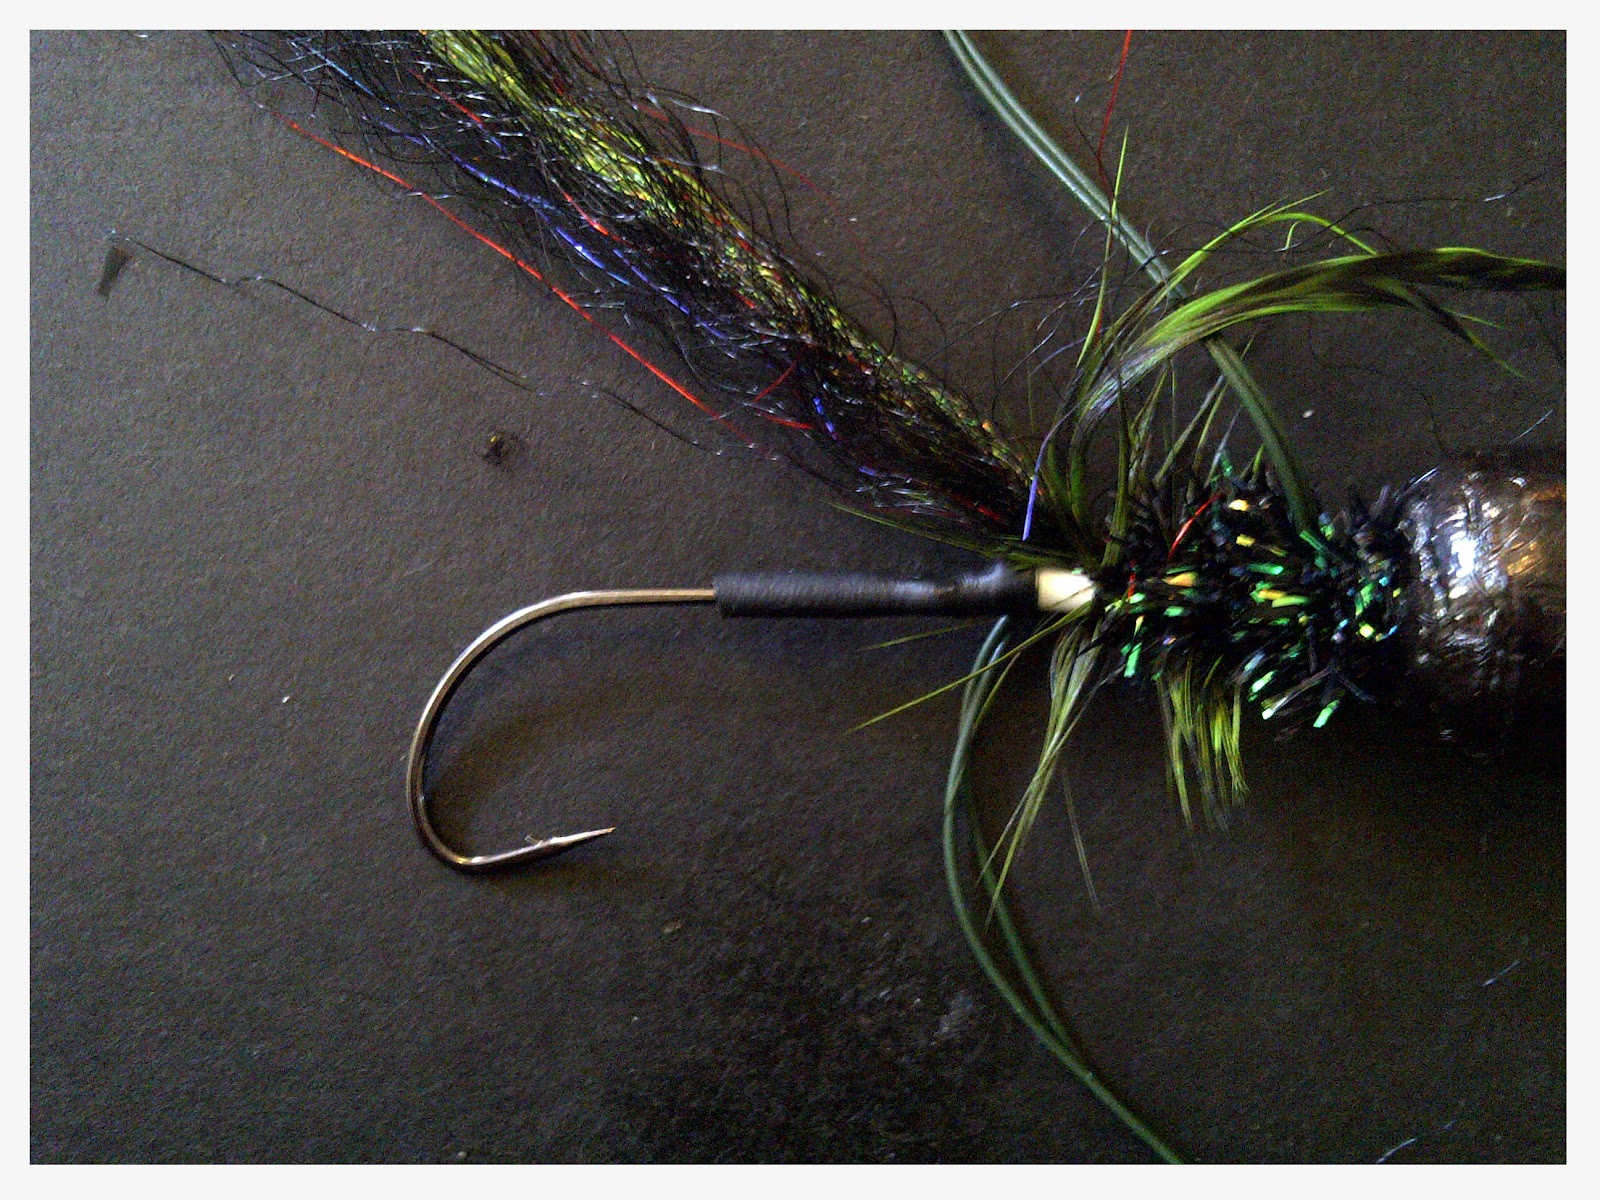
Rigging:
Step 1:
Slide the tube fly and a carp rig rubber sleeve onto the
line and tie your choice of hook to the line

Step 2:
Slide the rubber sleeve over the hook

Step 3:
Slide the tube into the sleeve